The Impact Stress has on Fat loss

The impact of Stress on Fat loss


Stress is a familiar thing to almost every single one of us, unfortunately stress has an impact on fat loss and health.

All too often things in the realm of fitness are put into boxes. Separate boxes that are dealt with individually without much thought of how these boxes may interact with each other. Just because we put certain areas into boxes, it doesn’t mean that this is how the body does things. In fact, our bodies are quite the opposite, working more like a production line in a factory. An issue at one point in the ‘conveyer belt’ of our body will have an impact elsewhere down the line.

Now, this isn’t to say that all of these impacts are negative. In some cases an impact on the production line can cause a positive outcome, but if we deal with the body in a very strict, secluded manner, then we can’t possibly see the bigger picture and know if our impacts are positive or negative.


As a personal trainer, the most requested goal from clients male or female, young or old is fat loss. And even if fat loss isn’t the primary goal, we’ll often still see it listed as a secondary or tertiary focus. And if fat loss is our hero of the story, then its nemesis will undoubtedly be stress.


When it comes to fat loss, stress is the Joker to our Batman, the Moriarty to our Holmes. Preventing our hero from doing their job, and sometimes even making this impossible. But why does this happen? First off we need to understand stress a bit better.

What is Stress? 

Our bodies can be described as adaptation machines. When we put them in a situation, our bodies will respond. When we spend more time in the sun than usual, our bodies adapt to this stress by making our skin more tanned to protect us against UV rays. When we spend more time in water than usual, our bodies adapt by wrinkling the skin, allowing us to grip more effectively in wet conditions. As you can see, not every form of stress causes a negative reaction. We actually require some form of stress in order to provoke any kind of adaptation.


However, this positive adaptation to stress only occurs when the body has been given an amount it can handle. “The poison is in the dose” absolutely applies here, meaning finding a balancing point for the body is key to stop the scales of stress tipping too far one way or the other.


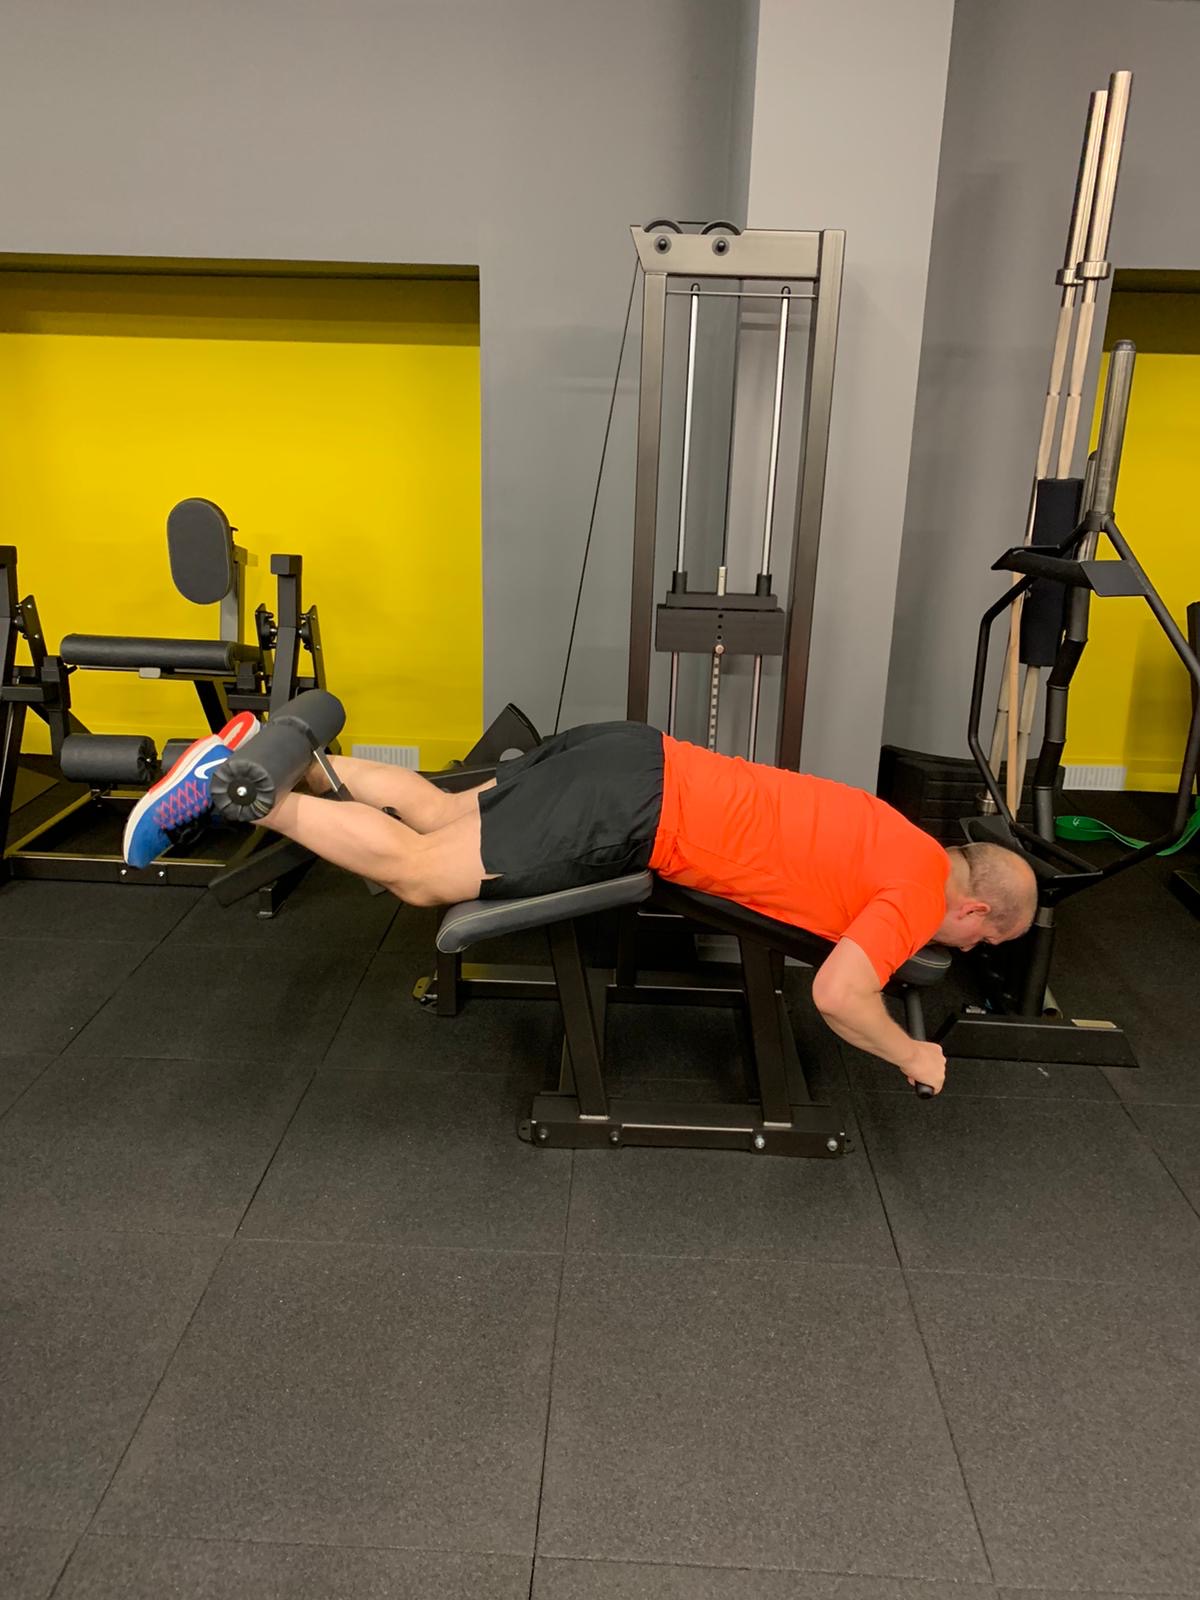
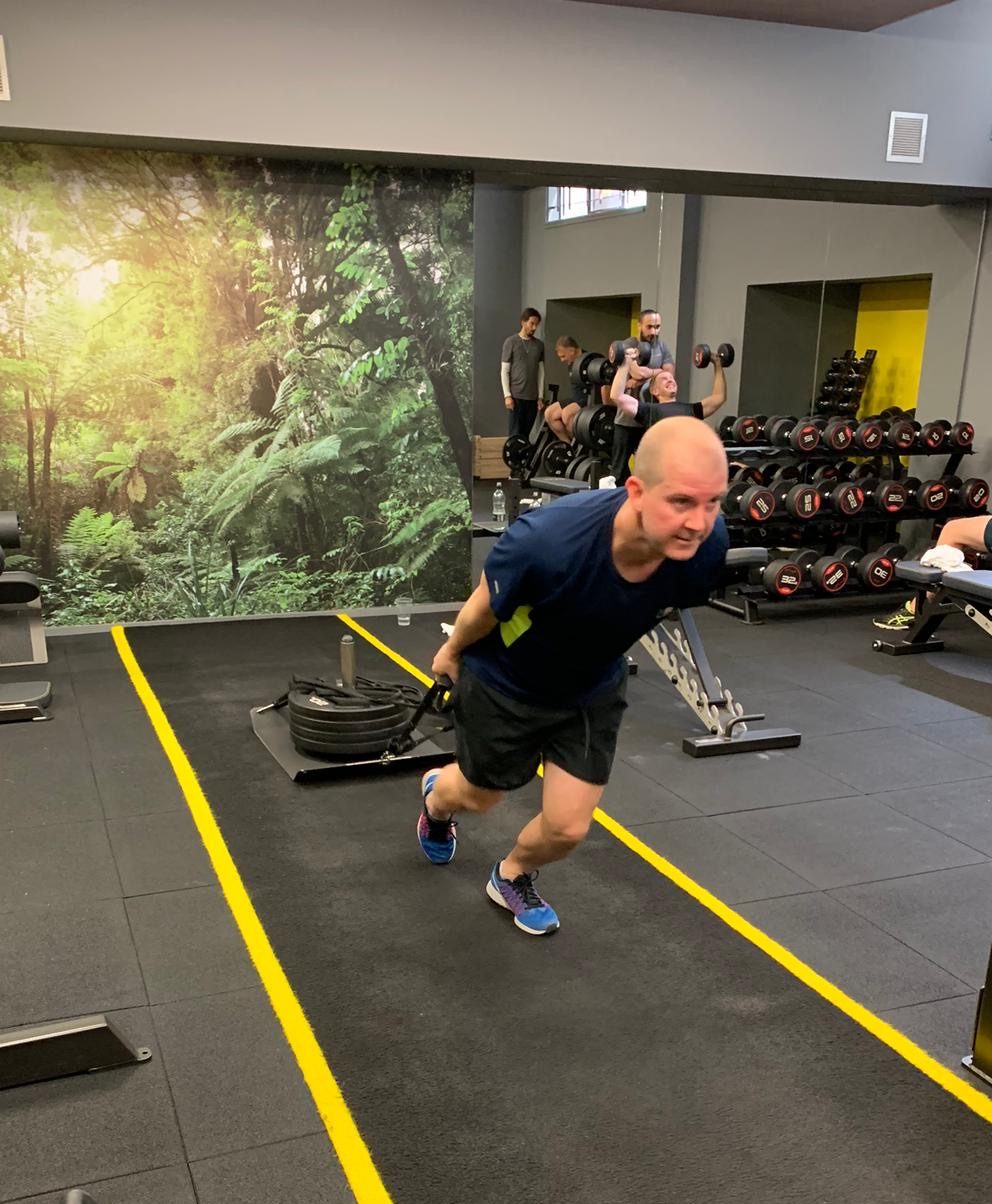
Exercise is a great example of this. If we go into the gym for 15 minutes and perform every exercise with a set of 1kg dumbbells, we have clearly under dosed the stress response we were looking for. If we decide to use the heaviest weights we can possibly handle, and train for hours on end, we’ve now gone too far and will likely be extremely sore and stiff for days; we’ve now added more stress than our body can effectively recover from. When we hit the sweet spot, we’ll be right in the middle, we’ve trained hard enough to elicit a response from the body, but not too much stress that we would struggle to recover from. If we do this continuously, we will adapt to the style of training. Running faster and longer distances will result in greater cardiovascular fitness and lifting increasingly heavier weights leads to increased strength.

Categorising Stress

So if training and recovery can be put into 3 categories; too little, too much, and just right, we can put other states of the body into groups of 3 as well. But first, lets look at other factors that can place stress on the body in our modern society:


  • Work stress and pressure
  • Lack of sleep
  • Eating mostly processed foods/malnourishment
  • Environmental (pollution/air quality)
  • Illness and disease


Unfortunately, most readers will be able to relate with the list above, whether it be the sluggishness after working until the early hours, or having a junk food hangover from those times where being busy means convenience is a higher priority than good nutrition.


These stressors are perceived by the body as a threat, and it responds accordingly, switching how it works whilst under ’attack’ by operating via the fight or flight part of our nervous system. This pathway is designed to respond to periodic immediate danger rather than slow and sustained stress, meaning that the actions taken by the body, such as powering down non-essential processes like digestion, rest and recovery. These then can go on to effect other areas such as sleep quality and duration, a well as increasing inflammation in the body.  When in this state our hormones are also impacted; we produce less of the hormones that are associated with inhibiting hunger, and the sense of fullness and satiety (known as the hormone leptin). To make matters worse we also produce more of the opposite hormones that increase our appetite and cravings (known as the hormone ghrelin). Ever had a stressful day and found yourself eating everything in the house? There’s a reason why ghrelin is referred to as the hunger hormone.

Impact on Fat Loss 

This makes fat loss a much harder job to carry out, especially when we know that in order to reduce body fat, we must consume fewer calories than we burn, thus creating a calorie deficit, forcing the body to use fat stores for fuel to make up for the lack of energy in what we consume. However, as we’ve all experienced cravings and mindless snacking we don’t find ourselves chowing down on kale and celery. Instead the body has an appetite for highly refined and easily digestible foods, which are often a combination of fats, sugar and salt. Think chocolate, pizza, biscuits, ice cream, crisps… the list goes on. As these foods are high in calories, low in nutrients, and not very filling it doesn’t take much to push us out of any calorie deficit we may have created, and in some instances into a calorie surplus.


Now, this isn’t to say that a zen like state is a necessity for fat loss, far from it. And telling someone who has a stressful job and life to be less stressed isn’t helpful either. Stress, like many other things during a successful fat loss phase, is just another metric that needs to be acknowledged and managed to both lessen and prevent the negative impact of stress on fat loss.

Article written by Richard Cross

Richard Cross Studio Trainer The Cut Gym London

Cable crossover

Set the pulley station to above shoulder height on each side, removing any cable attachments.

Grab the left pulley with your right hand, right pulley with your left hand creating a X with the cables.

Retract your shoulder blades, keep your arms in a fixed position then extend your arms to a point they can’t extend no further.

Pause for a moment, before reversing the movement to the start position.

Image Gallery

Video Gallery

Cable Extension

Set the pulley station to its highest setting, attaching two rope attachments.

Hold the ropes with a neutral grip, in a flexed position.

This is your start and end position of every repetition.

Keeping your upper arms in a fixed position, extending your arm to a point they can’t extend no further.

Pause for a moment, before reversing the movement to the start position.

Image Gallery

Video Gallery

DUMBBELL TRICEP EXTENSION

Pick up your dumbbells with a neutral grips, sitting on the edge of the bench.

Lie back, and extending your arm so that its directly in line with your shoulder.

This is your start and end position of every repetition.

Keeping your upper arms in a fixed position, flex your arm allowing the dumbbells to travel towards the side of your head.

Pause for a moment, before reversing the movement to the start position.

Image Gallery

Video Gallery

Reverse Curl

Load your barbell in your training area.

Pick up your barbell with a shoulder width grip, and palms facing your body.

Pull your shoulder blades together, with your bicep facing the same direction as your knees and toes.

This is your start and end position of every repetition.

Keeping your upper arm in a fixed position, curl the barbell until you get to the point in which you’re unable to curl no more.

Pause for a moment, before reversing the movement to the start position.

Image Gallery

Video Gallery

Zotttman Curl

Pick up your dumbbells and sit at the edge of your bench.

Pull your shoulder blades together, with your bicep facing the same direction as your knees and toes.

This is your start and end position of every repetition.

Keeping your upper arm in a fixed position, curl the dumbbell until you get to the point in which you’re unable to curl no more.

Pause for a moment, then rotating your forearm so that your thumbs are facing one another and reverse the movement to the start position.

Image Gallery

Video Gallery

Hammer Curl


Pick up your dumbbells and sit at the edge of your bench.

Pull your shoulder blades together, with your bicep facing the same direction as your knees and toes.

Rotate your forearm so that your thumbs are facing forward.

This is your start and end position of every repetition.

Keeping your upper arm in a fixed position, curl the dumbbell until you get to the point in which you’re unable to curl no more.

Pause for a moment, before reversing the movement to the start position.

Image Gallery

Video Gallery

Cable Curl

Set the pulley station to the lowest setting, attaching a cambered bar.

Hold the cambered bar with your palms facing you, then take 3 steps back.

This is your start and end position for each repetition.

Pull your shoulder blades together, with your biceps facing forward.

Keeping your upper arm in a fixed position, curl the bar until you get to the point in which you’re unable to curl no more.

Pause for a moment, before reversing the movement to the start position.

Image Gallery

Video Gallery

Preacher Curl

Place a dumbbell at the head of your bench, then set your bench at approximately 75* angle.

Pick up your dumbbell then place your upper arm-armpit at the head of the bench, with your palm facing you.

This is your start and end position for each repetition.

Keeping your upper arm in a fixed position, curl the dumbbell until you get to the point in which you’re unable to curl no more.

Pause for a moment, before reversing the movement to the start position.

Image Gallery

Video Gallery

Spider curl

Place your dumbbells at the head of your bench, then set your bench at approximately a 30* angle

Pull your chest into the bench, then grab each of your dumbbells.

This is your start and end positon for each repetition.

Pull your shoulder blades together, with your biceps facing forward.

Keeping your upper arm in a fixed position, curl the dumbbell until you get to the point in which you’re unable to curl no more.

Pause for a moment, before reversing the movement to the start position.

Image Gallery

Video Gallery

Seated DB curl

Pick up your dumbbells and sit at the edge of your bench.

Pull your shoulder blades together, with your bicep facing the same direction as your knees and toes.

This is your start and end position of every repetition.

Keeping your upper arm in a fixed position, curl the dumbbell until you get to the point in which you’re unable to curl no more.

Pause for a moment, before reversing the movement to the start position.

Image Gallery

Video Gallery

Ham curl

Lorem ipsum dolor sit amet, consectetur adipiscing elit. Ut elit tellus, luctus nec ullamcorper mattis, pulvinar dapibus leo. Lorem ipsum dolor sit amet, consectetur adipiscing elit. Ut elit tellus, luctus nec ullamcorper mattis, pulvinar dapibus leo.Lorem ipsum dolor sit amet, consectetur adipiscing elit. Ut elit tellus, luctus nec ullamcorper mattis, pulvinar dapibus leo.Lorem ipsum dolor sit amet, consectetur adipiscing elit. Ut elit tellus, luctus nec ullamcorper mattis, pulvinar dapibus leo.

Image Gallery

Video Gallery

Step Ups

Lorem ipsum dolor sit amet, consectetur adipiscing elit. Ut elit tellus, luctus nec ullamcorper mattis, pulvinar dapibus leo. Lorem ipsum dolor sit amet, consectetur adipiscing elit. Ut elit tellus, luctus nec ullamcorper mattis, pulvinar dapibus leo.Lorem ipsum dolor sit amet, consectetur adipiscing elit. Ut elit tellus, luctus nec ullamcorper mattis, pulvinar dapibus leo.Lorem ipsum dolor sit amet, consectetur adipiscing elit. Ut elit tellus, luctus nec ullamcorper mattis, pulvinar dapibus leo.

Image Gallery

Video Gallery

glute bridge

Lorem ipsum dolor sit amet, consectetur adipiscing elit. Ut elit tellus, luctus nec ullamcorper mattis, pulvinar dapibus leo. Lorem ipsum dolor sit amet, consectetur adipiscing elit. Ut elit tellus, luctus nec ullamcorper mattis, pulvinar dapibus leo.Lorem ipsum dolor sit amet, consectetur adipiscing elit. Ut elit tellus, luctus nec ullamcorper mattis, pulvinar dapibus leo.Lorem ipsum dolor sit amet, consectetur adipiscing elit. Ut elit tellus, luctus nec ullamcorper mattis, pulvinar dapibus leo.

Image Gallery

Video Gallery

Hip Bridge

Lorem ipsum dolor sit amet, consectetur adipiscing elit. Ut elit tellus, luctus nec ullamcorper mattis, pulvinar dapibus leo. Lorem ipsum dolor sit amet, consectetur adipiscing elit. Ut elit tellus, luctus nec ullamcorper mattis, pulvinar dapibus leo.Lorem ipsum dolor sit amet, consectetur adipiscing elit. Ut elit tellus, luctus nec ullamcorper mattis, pulvinar dapibus leo.Lorem ipsum dolor sit amet, consectetur adipiscing elit. Ut elit tellus, luctus nec ullamcorper mattis, pulvinar dapibus leo.

Image Gallery

Video Gallery

45 Back Extension

Lorem ipsum dolor sit amet, consectetur adipiscing elit. Ut elit tellus, luctus nec ullamcorper mattis, pulvinar dapibus leo. Lorem ipsum dolor sit amet, consectetur adipiscing elit. Ut elit tellus, luctus nec ullamcorper mattis, pulvinar dapibus leo.Lorem ipsum dolor sit amet, consectetur adipiscing elit. Ut elit tellus, luctus nec ullamcorper mattis, pulvinar dapibus leo.Lorem ipsum dolor sit amet, consectetur adipiscing elit. Ut elit tellus, luctus nec ullamcorper mattis, pulvinar dapibus leo.

Image Gallery

Video Gallery

RDL

Lorem ipsum dolor sit amet, consectetur adipiscing elit. Ut elit tellus, luctus nec ullamcorper mattis, pulvinar dapibus leo. Lorem ipsum dolor sit amet, consectetur adipiscing elit. Ut elit tellus, luctus nec ullamcorper mattis, pulvinar dapibus leo.Lorem ipsum dolor sit amet, consectetur adipiscing elit. Ut elit tellus, luctus nec ullamcorper mattis, pulvinar dapibus leo.Lorem ipsum dolor sit amet, consectetur adipiscing elit. Ut elit tellus, luctus nec ullamcorper mattis, pulvinar dapibus leo.

Image Gallery

Video Gallery

Trap bar deadlift

Stand in the middle of the hex/trap bar with your feet in approximately a shoulder width stance.

Maintaining a neutral spine, in a synchronised manner bring your hips towards your calves, whilst also allowing your knees to move in the same direction as your toes. You should be able to grab the handles of the bar, if you’re unable to, raise the bar by placing blocks underneath the plates. This is your start and end position

Take a tight grip of the handles and stand, reverse the movement by allowing your knees to move forward and hips down.

Image Gallery

Video Gallery

Alternating lunges

With the dumbbell in your hands and to your sides, find yourself in a position where feet are approximately hip width apart

You’re going to take approximately a dynamic step forward, allowing your front knee to move forward whilst the rear knee moves towards the floor. Without pausing in the bottom position, push through the ground to return to a standing position. This is the start and end of every repetition.

Repeat for the stated reps in your program before switching sides.

Image Gallery

Video Gallery

Goblet squat

Hold the Dumbbell in a vertical manner just below your chin, your feet should be approximately shoulder width apart. This will be your start and end position for every repetition.

Start the movement by allowing your knees to move in the same direction of your toes, whilst your hip is moving towards the platform in a synchronised manner. Once you’ve reach the bottom, pause then push through your legs to return to your starting position.

Image Gallery

Video Gallery

Hack Squat

Load the weight plates on to the machine, then place your shoulders underneath the pads whilst setting your feet on the platform approximately shoulder-width apart (this is your start and end position for every rep).

Your feet should be a in position which allows you to push through the centre of your feet.

Extend your knees, and take the hack squat off the lock setting. Start the movement by allowing your knees to move in the same direction of your toes, whilst your hip is moving towards the platform in a synchronised manner. Once you’ve reached the bottom, pause then press through the platform to return to your starting/end position.

Repeat for the stated reps in your program before switching sides.

*Focus on keeping your lower back on the back pad, if your back comes of the pad you’ve reached your end range-of-motion.

Image Gallery

Video Gallery

back Squat

Have the bar behind your neck, resting on your shoulders.

Your feet should be approximately shoulder width apart. This will be your start and end position for every repetition.

Start the movement by allowing your knees to move in the same direction of your toes, whilst your hip is moving towards the platform in a synchronised manner. Once you’ve reach the bottom, pause then push through your legs to return to your starting position.

Image Gallery

Video Gallery

Split squat

Find yourself in a staggered stance approximately a step forward/back difference, the front foot should be flat and the rear foot should be on the toes (mobility permitting). This would be your start and end position for every repetition.

You’re going to allow your rear knee to move towards the floor, whilst your front knee is moving in a motion forward towards your toes.

When your rear knee is close to touching the ground, pause then push through both legs to reverse the motion to the start position.

Repeat for the stated reps in your program before switching sides.

*If your front heel comes off the ground during your repetitions, adjust your stance.

Image Gallery

Video Gallery

Leg Extension

Image Gallery

Video Gallery

Rfe split squat

Find yourself in a staggered stance approximately in front of a step which should be no greater than 6” high, place your toes on the step and your front foot should be flat. This would be your start and end position for every repetition.

You’re going to allow your rear knee to move towards the floor, whilst your front knee is moving in a motion forward towards your toes.

When your rear knee is close to touching the ground, pause then push through both legs to reverse the motion to the start position.

*If your front heel comes off the ground during your repetitions, adjust your stance.

Starting with bodyweight is appropriate for many on a RFE, or holding on to a squat stand to aid balance.

Repeat for the stated reps in your program before switching sides.

Image Gallery

Video Gallery

Y Raise

Lorem ipsum dolor sit amet, consectetur adipiscing elit. Ut elit tellus, luctus nec ullamcorper mattis, pulvinar dapibus leo. Lorem ipsum dolor sit amet, consectetur adipiscing elit. Ut elit tellus, luctus nec ullamcorper mattis, pulvinar dapibus leo.Lorem ipsum dolor sit amet, consectetur adipiscing elit. Ut elit tellus, luctus nec ullamcorper mattis, pulvinar dapibus leo.Lorem ipsum dolor sit amet, consectetur adipiscing elit. Ut elit tellus, luctus nec ullamcorper mattis, pulvinar dapibus leo.

Image Gallery

Video Gallery

Face Pull

Lorem ipsum dolor sit amet, consectetur adipiscing elit. Ut elit tellus, luctus nec ullamcorper mattis, pulvinar dapibus leo. Lorem ipsum dolor sit amet, consectetur adipiscing elit. Ut elit tellus, luctus nec ullamcorper mattis, pulvinar dapibus leo.Lorem ipsum dolor sit amet, consectetur adipiscing elit. Ut elit tellus, luctus nec ullamcorper mattis, pulvinar dapibus leo.Lorem ipsum dolor sit amet, consectetur adipiscing elit. Ut elit tellus, luctus nec ullamcorper mattis, pulvinar dapibus leo.

Image Gallery

Video Gallery

cable Lateral raise

Set the cable to its lowest setting using a D handle attachment, then choose the appropriate weight.

 Stand beside the cable station with an extended arm, feet close to the base whilst leaning away from the machine.

 This is your start and end position of every repetition.

Initiating the movement with your shoulders, pull the D handle from beside your leg diagonally to a position which is parallel with the floor.

 Pause for a moment, before reversing the movement to the start position.

Image Gallery

Video Gallery

Dumbbell Lateral raise

Place your dumbbells at the end of the bench, before taking a seat.

Grab your dumbbells with your thumb facing the same direction as your biceps, sit nice and tall.

 This is your start and end position of every repetition.

 Keep your arm in a fixed flexed position throughout the set.

 Initiating the movement with your shoulders, bring the dumbbells to a position which is parallel with the floor.

 Pause for a moment, before reversing the movement to the start position.

Image Gallery

Video Gallery

Dumbbell Shoulder Press

Set your bench at 90* (or 75* if you struggle to press vertically).

 Sit on the edge of the bench, feet approximately shoulder-width with the dumbbells resting on your thighs, bring the dumbbell in line with your shoulders and elbows facing the floor.  

 This is your start and end position of every repetition.

 Press towards the ceiling, aiming to bring your elbows towards one another without the dumbbells hitting.

 Pause for a moment whilst your arms are fully extended, before reversing the movement to the start position.

Image Gallery

Video Gallery

Single arm row

Your dumbbell should be roughly a step-in front of you.

Place one knee on the bench, then take a lateral step to create a wide base (approximately shoulder width).

Whichever knee is on the bench, place its corresponding arm on the bench which will place your torso parallel to the floor.

Pick up the dumbbell with your free hand, the dumbbell should be directly below your shoulder.

This is your start and end position of every repletion.

Initiating the movement with your middle back, pull the dumbbell towards your hip.

Pause for a moment, before reversing the movement to the start position.

Image Gallery

Video Gallery

The Impact Stress has on Fat loss

Place your dumbbell vertically in the head position of your bench.

Grab the dumbbell at the handle with your hands overlapping one another, then create a hinge joint with your shoulder blades and the bench.

Extend your arms so the dumbbell is in line with your head.

Keeping your arms slightly flex (5-10*), allow the dumbbell to move overhead and towards the ground, stopping at a point in which the dumbbell can move no further.

Pause for a moment, before reversing the movement to the start/end position.

Image Gallery

Video Gallery

Straight arm pull down


Set the cable to its highest setting, then attach 2 ropes.

Grab the end of the ropes, then take 2 steps back away from the cable station.

Maintaining a neutral spine, push your hips back and pull your chest forward to create a 45* angle with the floor.

Keep your arms fully extended, pull the ropes towards your waist to a point in which you can’t pull back no further.

Pause for a moment, before reversing the movement to the start/end position.

Image Gallery

Video Gallery

Pull Ups

Ensure you can reach the pull up bar without jumping. If you’re unable to place a step underneath the pull up bar.

Grab the pull up bar with approximately 1.5x shoulder width.

This is your start and end position of every repetition.

Pull yourself towards the bar, once you’ve reached a position when you can pull no further, this is your end range.

Pause for a moment, before reversing the movement to the start/end position.

Image Gallery

Video Gallery

Chest Supported Row

Set your bench at approximately a 30* angle, then place your dumbbells at the head of your bench.

Pull your chest into the bench, then grab each of your dumbbells.

This is your start and end position for each repetition.

Initiating the movement with your middle back, pull the dumbbells in a diagonal manner towards your waist till you can’t move no further.

Pause for a moment, before reversing the movement to the start/end position.

Image Gallery

Video Gallery

Seated Row


Sitting on the machine, make sure your feet are supported.

Reach forward and grip your cable attachment with your palms facing one another.

This would be your start and end position of every repetition.

Keep your torso upright, initiating the movement with your middle back pull your elbows back till you can’t move no further.

Pause for a moment, before reversing the movement to the start/end position.

Image Gallery

Video Gallery

Lat Pull Down

Set your thigh padding to a position that ensures the sole of your foot doesn’t move, whilst standing grab your attachment and secure yourself under the thigh padding.

This is your start and end position for every repetition.

Leaning back slightly and pull the attachment vertically towards your torso.

Pause for a moment, before reversing the movement to your start/end position.

Image Gallery

Video Gallery

Push ups

Starting in a prone position, set your hand just outside shoulder width at a 45 degree angle relative to your torso.

Bring your knees and your hips off the ground, so that your body is in neutral (this is your start and end position for every rep).

Press into the ground until your arms are fully extended, then lower your body in a controlled manner towards the floor.

*Your body should be moving in a synchronised manner.

Image Gallery

Video Gallery

Cable Press

Pick the handles and take a seat on your bench, your arms should be in a neutral position.

Extend your arms, so your fist is approximately the same height as your armpit but now rotate so that you’re in a pronated grip (this is your start and end position for every rep).

In a slow controlled manner, you’re going to move your upper arm towards the bench. The upper arm should be in approximately a 45 degree relative to your torso. When you’ve reached a point when your upper arm can move no further, press the handles in the opposite direction of the bench until your arm are fully extended.

*Your bench should be central of the cable station.

*Your handles should be should height

Image Gallery

Video Gallery

Cable Fly

Pick the handles and take a seat on your bench, your arms should be in a neutral position.

Extend your arms, so your fist is approximately the same height as your armpit. Your elbow should also be slightly bent (this is your start and end position for every rep).

In a slow controlled manner, you’re going to move your upper arm in a circular movement towards the pulley, before returning to your start/end position.

*Your bench should be central of the cable station.

*Your handles should be shoulder height

Image Gallery

Video Gallery

Incline Machine

Image Gallery

Video Gallery

Dumbbell Chest Press

Sit on the edge of the bench, feet approximately shoulder-width with the dumbbells resting on your thighs then lie back so that you’re in a supine position on your bench.

Your dumbbells should be above your elbows, whilst your upper arm should be approximately 45 degrees to your torso (this is your start and end position for every rep), palms in the same direction of your feet.

Press the dumbbells towards the ceiling, until your arms are fully extended then lower the dumbbells in a slow controlled manner to your start position.

Image Gallery

Video Gallery

Change This to exorcise title

Lorem ipsum dolor sit amet, consectetur adipiscing elit. Ut elit tellus, luctus nec ullamcorper mattis, pulvinar dapibus leo. Lorem ipsum dolor sit amet, consectetur adipiscing elit. Ut elit tellus, luctus nec ullamcorper mattis, pulvinar dapibus leo.Lorem ipsum dolor sit amet, consectetur adipiscing elit. Ut elit tellus, luctus nec ullamcorper mattis, pulvinar dapibus leo.Lorem ipsum dolor sit amet, consectetur adipiscing elit. Ut elit tellus, luctus nec ullamcorper mattis, pulvinar dapibus leo.

Image Gallery

Video Gallery

BarBell Chest Press

Sit on the edge of the bench, feet approximately shoulder-width, lie back so you’re in a supine position. Your eyes should be directly underneath the barbell.

Place your hands on the barbell with an overhand grip, approximately 1.5x shoulder width.

Extend your arms to un rack the bar, slowly set the bar to a position perpendicular of your shoulders (this is your start and end position for every rep).

Lower the barbell in a controlled manner towards your chest, your arms should be approximately 45 degrees to your torso. When you’ve reached a point when the barbell can get no lower press the barbell towards the ceiling, until your arms fully extended.

*If you’re training in a facility where you can set the hooks to your preferred height, choose a height in which when you’re un-racking the bar you’re not protracting/over extending to remove the bar.

Image Gallery

Video Gallery

Get In Touch

(020) 7628 9995

Whether it’s about your health, fitness, weight, tiredness, transform your life and your career with your personal trainer, contact The Cut now.